|
by purple323coupe
Tools needed: Phillips screwdriver.
Time needed: 30 minutes.
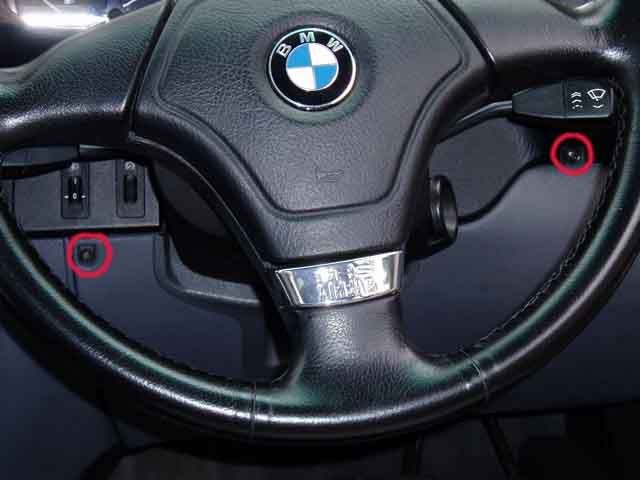
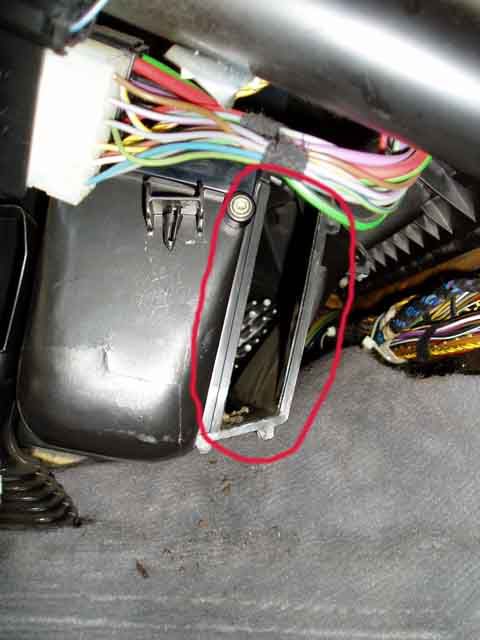
1. Remove the two screws shown in the picture. Then carefully remove the panel that forms the underside of the dashboard.
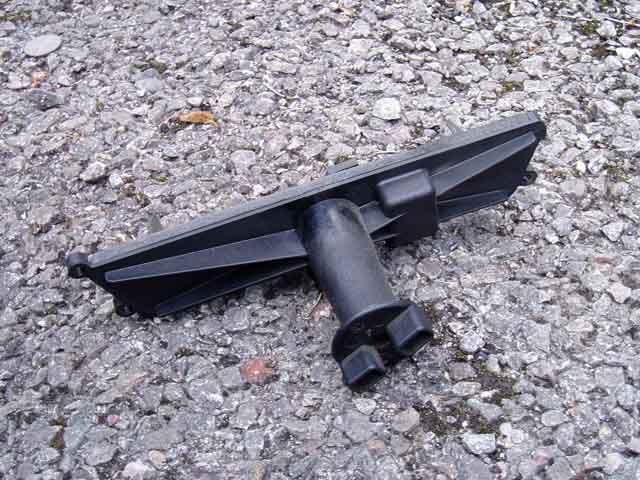
2. Remove the piping that is marked in the picture by pulling gently towards the right hand side of the car.
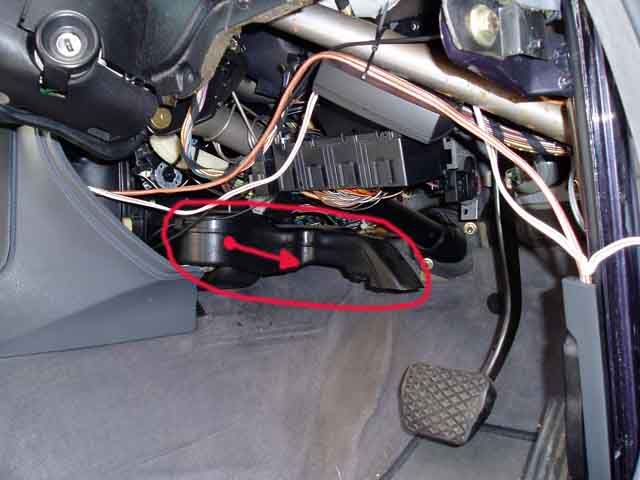
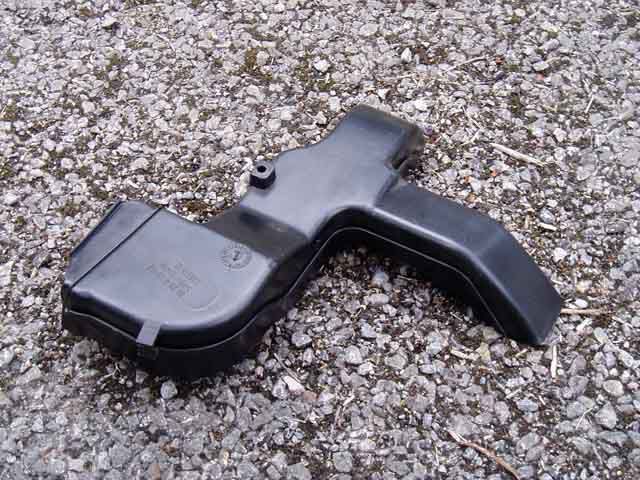
This is the part that you are removing:
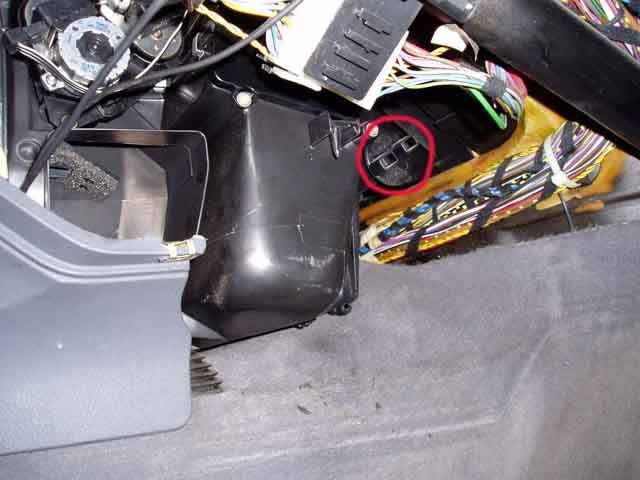
3. Undo the lock that holds the cap of the filter chamber (see pic) by turning anti-clockwise approximately a quarter of a turn.
This is what the entire lock and cap looks like:
4. Remove the original filter. You will need to snap it in two places in order to get it out. Once it is removed, you should be left with this:
5. The new filter will need to be broken in the same places to get it into the slot. There are two slots moulded into the filter on each of the long sides. Gently break the frame at these points.
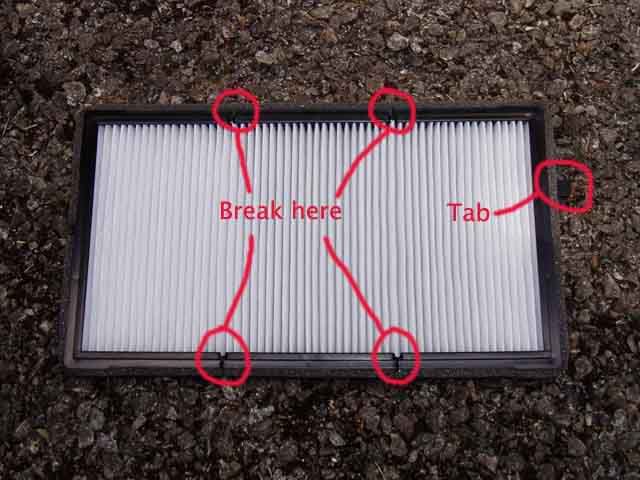
6. Install the new filter. There is a tab sticking out of one end of the filter (see pic above). Make sure this tab is facing you as you install the filter. It will be very tricky to remove the filter again as the frame has been broken and you are likely to rip the paper. This bit is quite awkward but take your time and it should go in ok.
7. Once the filter is in the slot, push it towards the rear of the car so that it is only half visible when looking into the slot. then replace the cap and lock it into place by turning clockwise. Re-fit the piping and then re-fit the panel ensuring that the end of the piping is pointing through the holes in the panel.
N.B. This is intended as a guide only. I cannot be held responsible for any damage caused to your car or yourself by following this guide. If you are not confident that you are capable of carrying out this or any other maintenance work to your car please do not attempt it.
-------------
Current: 2009 E60 520d "Sport" tractor
Previous: 1989 E30 320i SE
1997 E39 523i
2003 E39 525i Sport Individual
|